
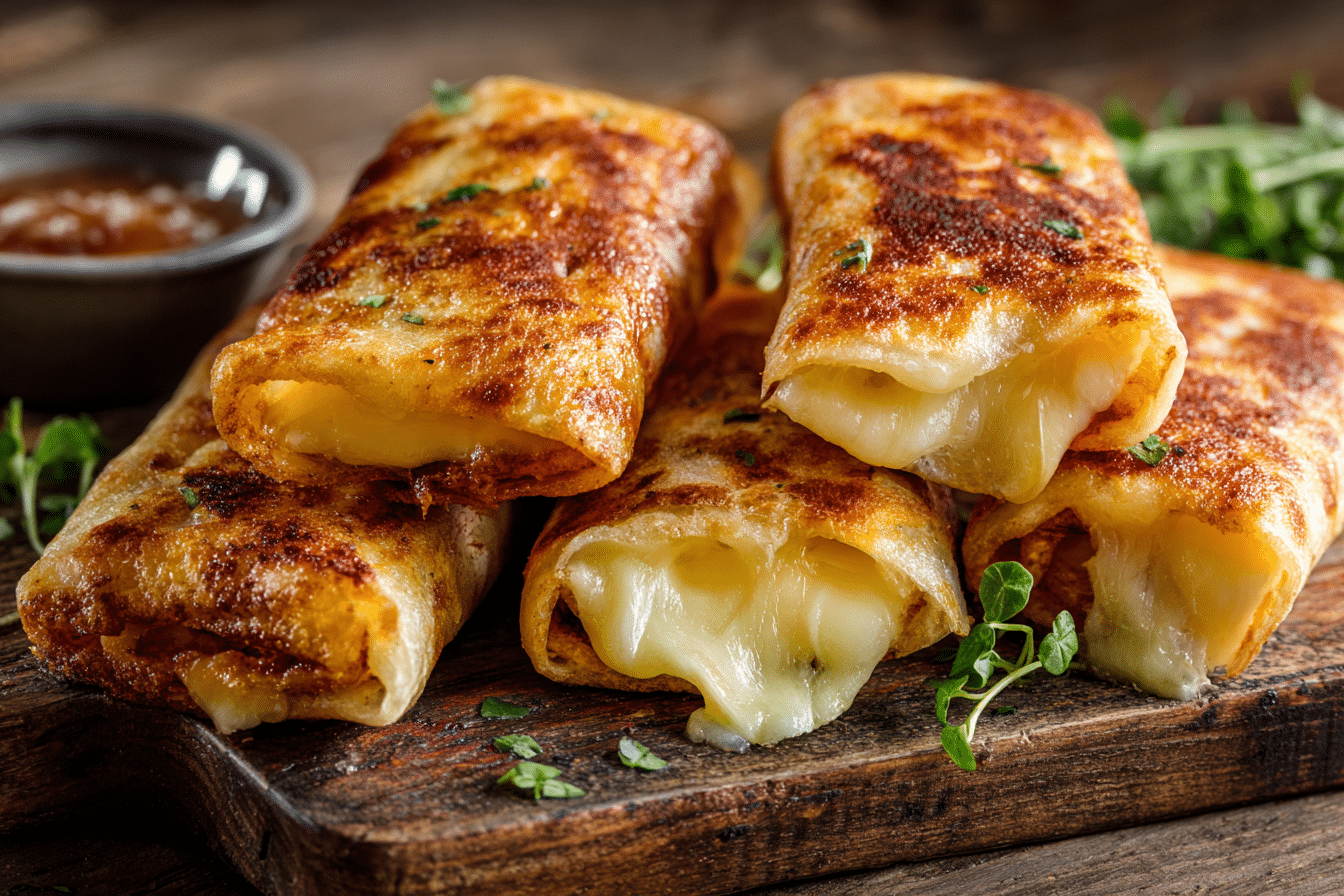
Easy Grilled Cheese Roll-Ups take the classic comfort food to a fun, portable form. Soft bread rolled around gooey melted cheese makes for a snack or lunch that’s quick, kid-friendly, and endlessly customizable.
Perfect for busy weeknights, lunchboxes, or parties, these roll-ups are crispy on the outside, melty on the inside, and ready in just minutes.
Ingredients Overview
Bread – White, whole wheat, or sandwich bread works well. Flatten slices for easier rolling.
Cheese – Cheddar, mozzarella, or a cheese blend provides that irresistible melty, gooey texture.
Optional Fillings – Add ham, turkey, bacon, or veggies for extra flavor and variety.
Butter or Oil – For crisping the outside and adding golden, savory flavor.
Together, these ingredients create a snack that’s simple, fun to make, and utterly satisfying.
Ingredients
- 8 slices sandwich bread
- 4–6 slices cheese (cheddar, mozzarella, or your choice)
- 2 tablespoons butter or olive oil
- Optional: ham, turkey, bacon, or sliced veggies
Step-by-Step Instructions

1. Prepare the Bread:
Flatten each slice of bread with a rolling pin and remove crusts if desired.
2. Add Cheese & Fillings:
Place a slice of cheese on each piece of bread. Add optional fillings if desired.
3. Roll the Bread:
Carefully roll each slice into a tight cylinder. Secure with toothpicks if needed.
4. Cook the Roll-Ups:
Heat butter or oil in a skillet over medium heat. Place roll-ups seam-side down and cook, turning occasionally, until golden brown and cheese is melted (about 2–3 minutes per side).
5. Serve:
Remove toothpicks if used, slice in half if desired, and serve warm.
Tips, Variations & Substitutions
- Use flavored cheeses like pepper jack or smoked cheddar for a twist.
- Add a pinch of garlic powder or Italian seasoning for extra flavor.
- Bake in the oven at 375°F (190°C) for 10–12 minutes instead of pan-frying for a hands-off option.
- Serve with marinara or ranch dipping sauce for extra indulgence.
- Make mini roll-ups for party appetizers or lunchboxes.
Serving Ideas & Occasions
Easy Grilled Cheese Roll-Ups are perfect for:
- Quick snacks or lunch for kids and adults
- Appetizers or party finger foods
- Fun lunchbox additions
- Pairing with soup, salad, or fresh veggies
Their crispy exterior and gooey, cheesy interior make them universally loved and highly versatile.
Nutritional & Health Notes
- Cheese provides protein and calcium.
- Bread contributes carbohydrates for energy.
- Optional fillings like turkey, ham, or veggies add protein and nutrients.
- Use whole-grain bread or reduced-fat cheese for a slightly lighter option.
These roll-ups are indulgent yet simple, providing a comforting balance of carbs, protein, and melted cheese satisfaction.
FAQs
Can I make these ahead of time?
Yes, assemble the roll-ups and refrigerate until ready to cook. Cook just before serving.
Can I freeze them?
Yes, assemble and freeze uncooked. Bake or pan-fry directly from frozen, adding a few extra minutes to cook time.
Can I make them vegetarian?
Absolutely! Simply skip meat fillings and stick to cheese and veggies.
How do I keep them from unrolling while cooking?
Use toothpicks or press seam-side down in the skillet first to seal them.
Can I bake them instead of frying?
Yes, bake at 375°F (190°C) for 10–12 minutes until golden brown and cheese is melted.